Manage Windows lab computers from one console
See connected desktops, present a screen, control an individual PC, or send a file. HzR runs on your local network.
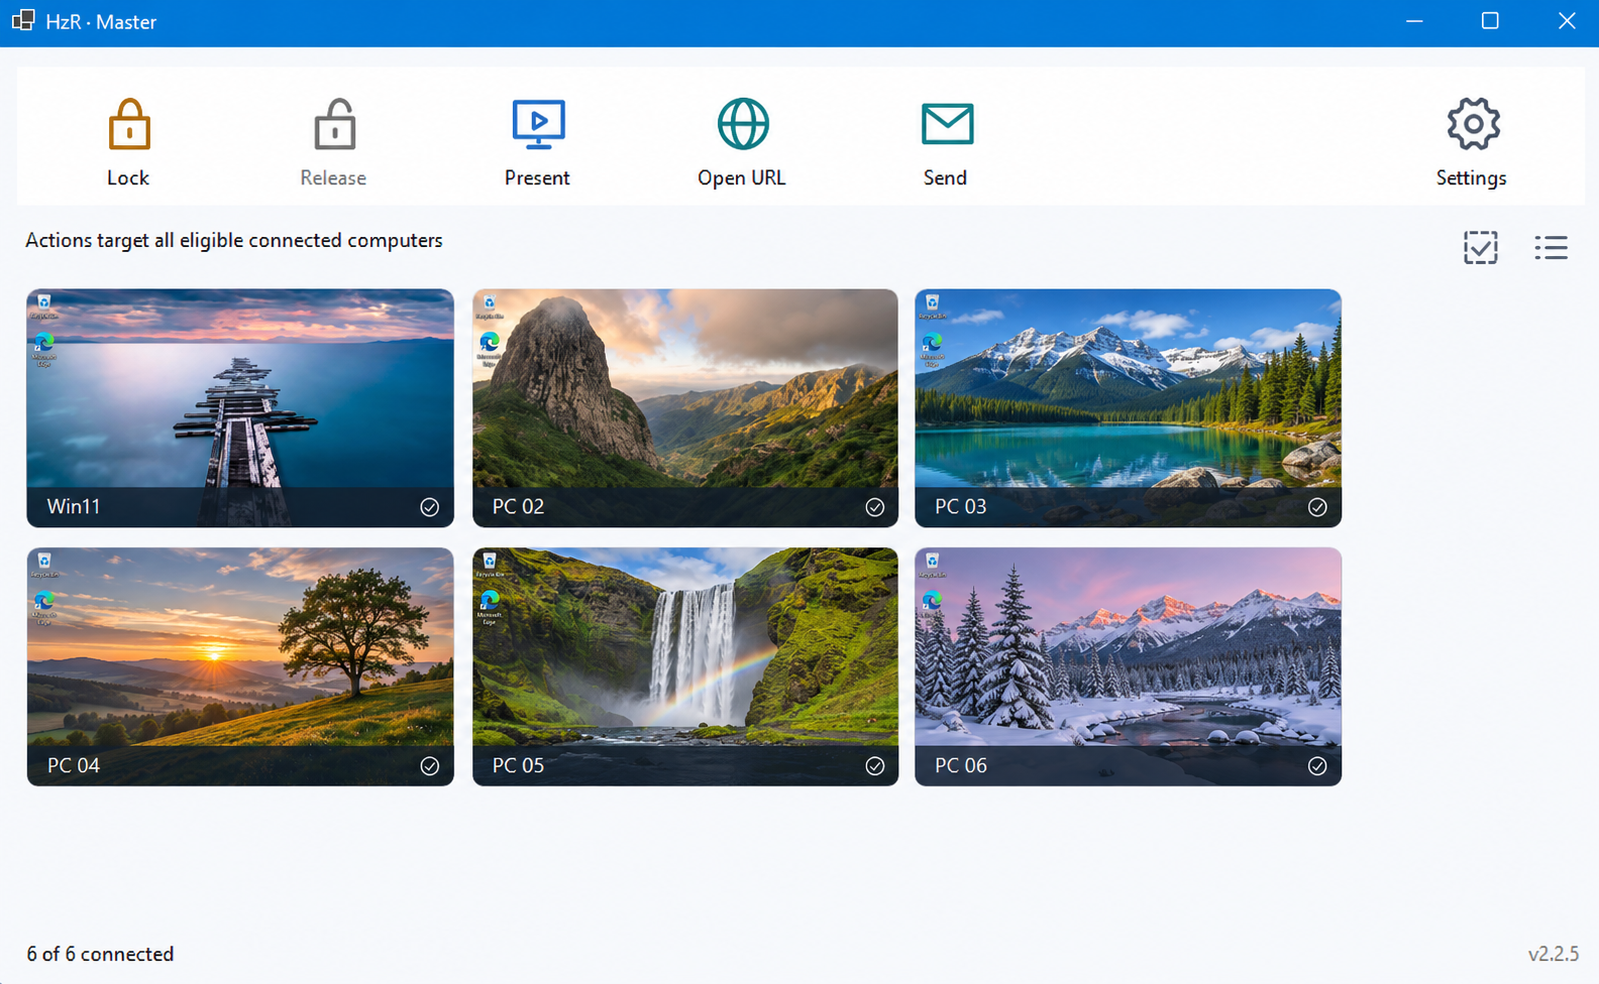
Working from the console
- Present a display
- Select the viewers and click Present. Choose a monitor if Master has more than one. Use Stop Presenting to return viewers to their desktops.
- Assist at one PC
- Double-click a connected PC to open its screen. Use your mouse and keyboard in the viewer. Close the viewer to end remote control.
- Send a file or link
- Select the recipients and choose Send to write a message and attach a file. Use Open URL to preview a web address before opening it on those PCs.
- Lock and release
- Use Lock to cover selected screens, then Release to return control. The roster indicates when input blocking is unavailable.
Install and pair
- Install Master on the PC you’ll use to manage the lab. Open Settings and choose the network adapter that reaches the Client PCs.
- Install Client on each managed PC. Complete the pairing setup at the end of installation. If discovery fails, enter Master’s LAN IP address.
- Approve each new Client on Master. Open Settings → Network and pairing and enter the four-digit PIN shown on that Client.
HzR MasterOperator’s Windows PC
Local network
HzR ClientManaged PC
HzR ClientManaged PC
System requirements
- Windows
- Windows 10 version 1809 or later, or Windows 11. x64. Administrator access to install.
- Pairing and control
- UDP 42761 for discovery and TCP 42762 for the encrypted connection to Master.
- Present
- IPv4 multicast must reach the Clients on UDP 42763. Windows N editions require the Media Feature Pack for video codecs.
- Updates
- Install the new Master, then distribute its bundled signed Client update from Settings → Deployment.
A Client connects but shows no presentation video
Check that multicast from Master reaches that Client on UDP 42763. In Master, check which PC reported a startup failure and the reason shown with it.